Sign up with your work email and answer a few quick questions. Footing then sets up your cost codes, quote templates and safety forms to match the work you do.
Create your account
On the Footing sign-up page, type your work email and click Continue.
There’s no password. Footing emails you a code instead, every time you sign in.
Check your email for the code. Type it in and click Verify.
No code? Check your spam folder, or click Resend code.
Answer four quick questions.
Your name, your company name, how many people work with you, and your trade. Click Next after each one. You can Skip team size and trade.
Wait while Footing sets up your workspace.
It usually takes under a minute. Then setup starts on its own.
Work through setup
Setup has six steps. The bar at the top shows where you are: Your work, Business, Plan, Your data, Teams and Invite.
Your work: pick the kinds of work you do, the states you work in, and your team size. Click Continue.
The first kind of work you pick is your main work. Pick every state you take jobs in, so your SWMS and inductions quote the right regulator.
Next you’ll see Here’s what we’ve turned on. These are the sections in your sidebar. Untick anything you won’t use, then click Continue. Nothing is deleted. You can turn sections back on in Settings → Modules.
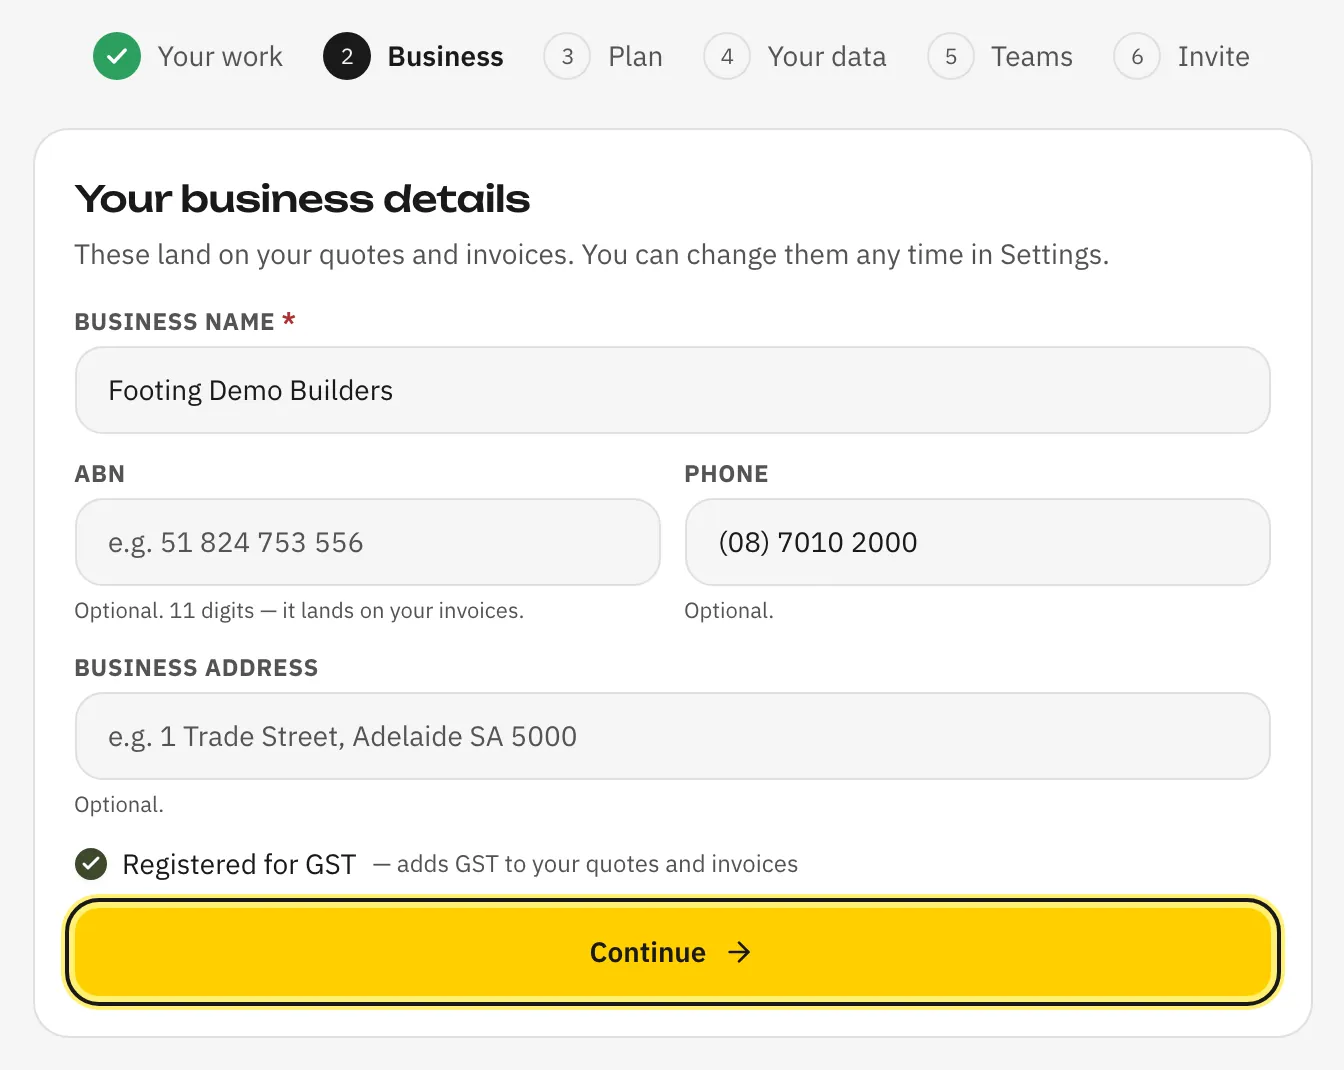
Business: check your business name, add your ABN, phone and address, and click Continue.
These go on your quotes and invoices. Leave Registered for GST ticked if you are, so Footing adds GST.
Plan: pick a plan, choose Monthly or Annual, and click Start free trial.
No card today. Footing asks for payment details 3 days before the trial ends, and emails you first. Every plan has unlimited users.
Your data: using AroFlo? Click AroFlo to bring your clients and jobs across. If not, click I’ll start fresh.
The import runs in the background, so you can keep setting up while it works. See Import your data from AroFlo.
Teams: Footing suggests Office and Field. Rename them or add more, then click Save teams.
Not sure yet? Click Skip for now.
Invite: type each person’s email, pick their role, and click the send button.
The button counts them for you, like Send 3 invites. Or click Skip for now and do it later. See Invite your team for what each role can see.
Click Go to your dashboard.
Finish off from your dashboard
Skipped something? Your dashboard shows a Getting started card with what’s left. Only admins see it.
- Add your business details (ABN, address)
- Start your free trial
- Import your data from AroFlo
- Set up your teams
- Invite your crew
- Connect Claude or ChatGPT
Click any line to go straight there. Done lines get a tick. The card goes away once everything is ticked. You can also close it with the X, but it won’t come back.
Add your logo
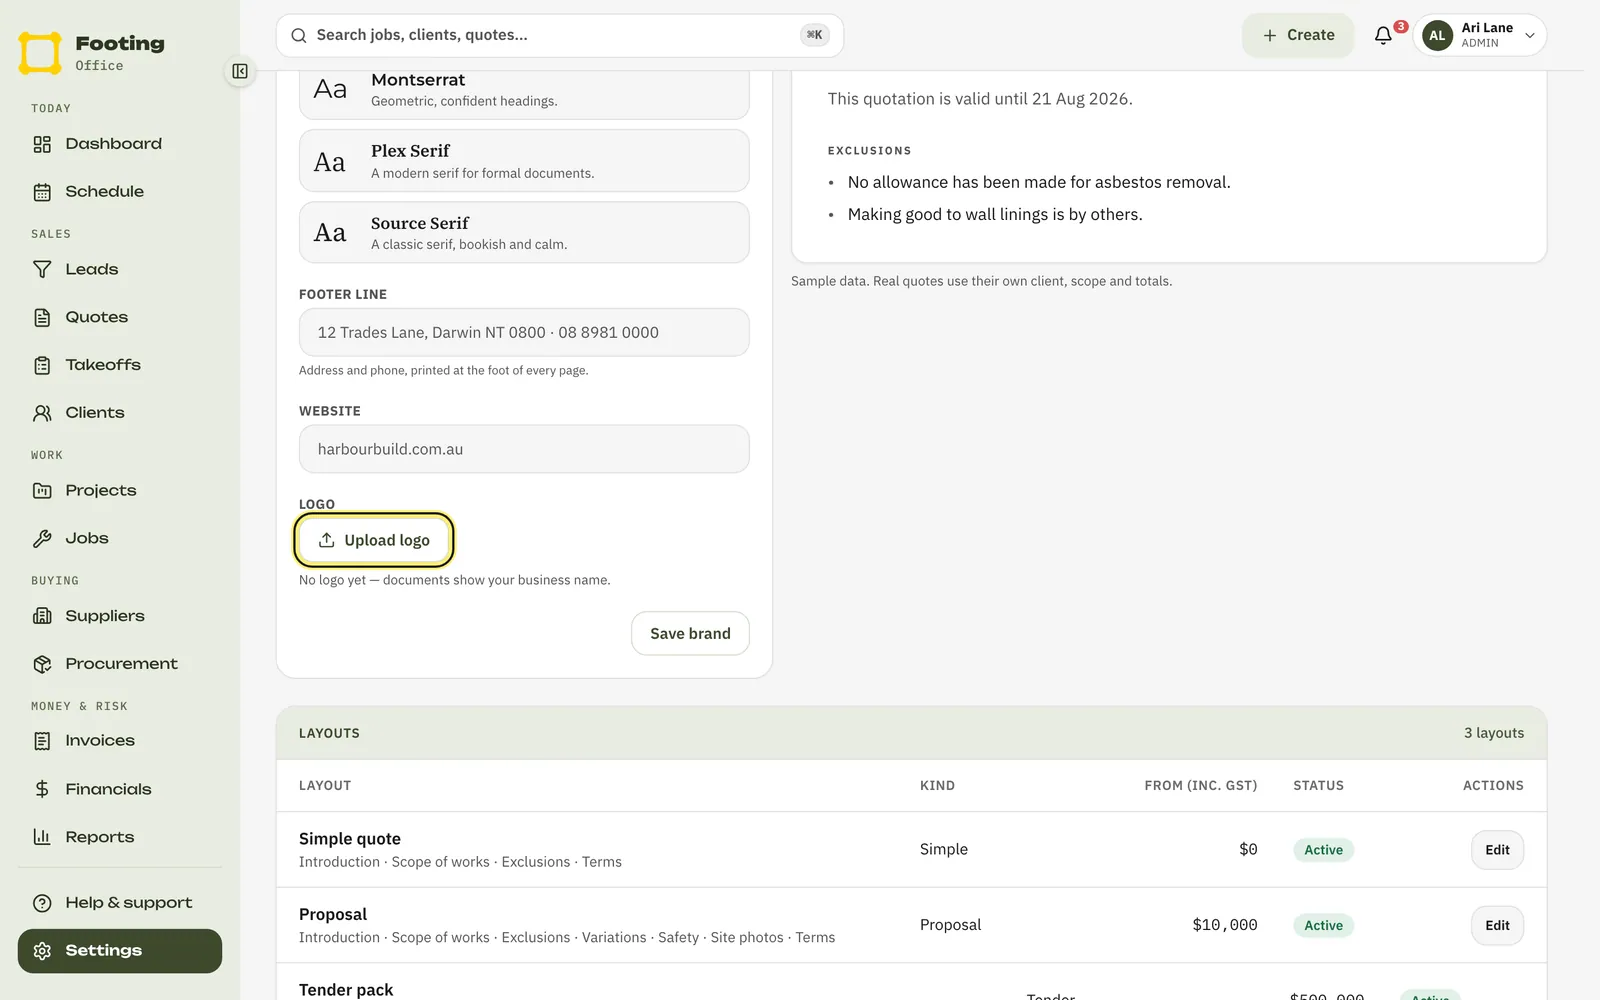
Go to Settings, then Quote documents.
Under Logo, click Upload logo and pick your file.
Use a PNG or JPEG, up to 2 MB. It uploads straight away.
What your team and clients see
- Your team gets an email from Footing with an Accept invitation button.
- Your clients see your business name, ABN and logo on your quotes and invoices. Emails you send them through Footing have your logo at the top, or your business name until you add one.
Change things later
Your business name, ABN, email, phone, address and GST can all be changed later. See Update your business details.
Related guides
Still stuck? Email support@folkware.com.au and tell us what you were trying to do.